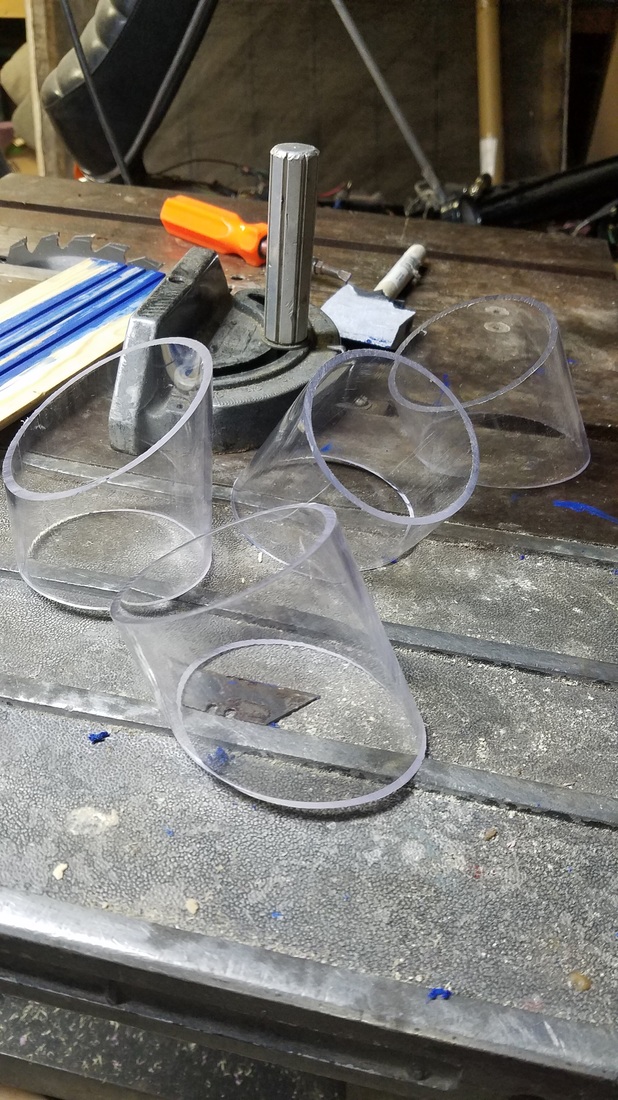
From my experience, mechanical/hydraulic presses are not practical for the regular DIYer. In addition to being large, heavy, expensive, uneven, and more, they are extremely unsafe. To press longboards I built a large steel press capable of 70 psi (fourty thousand pounds!) but it was very expensive, weighed 500 lbs, and most importantly, the design was verified and assembled by a professional.
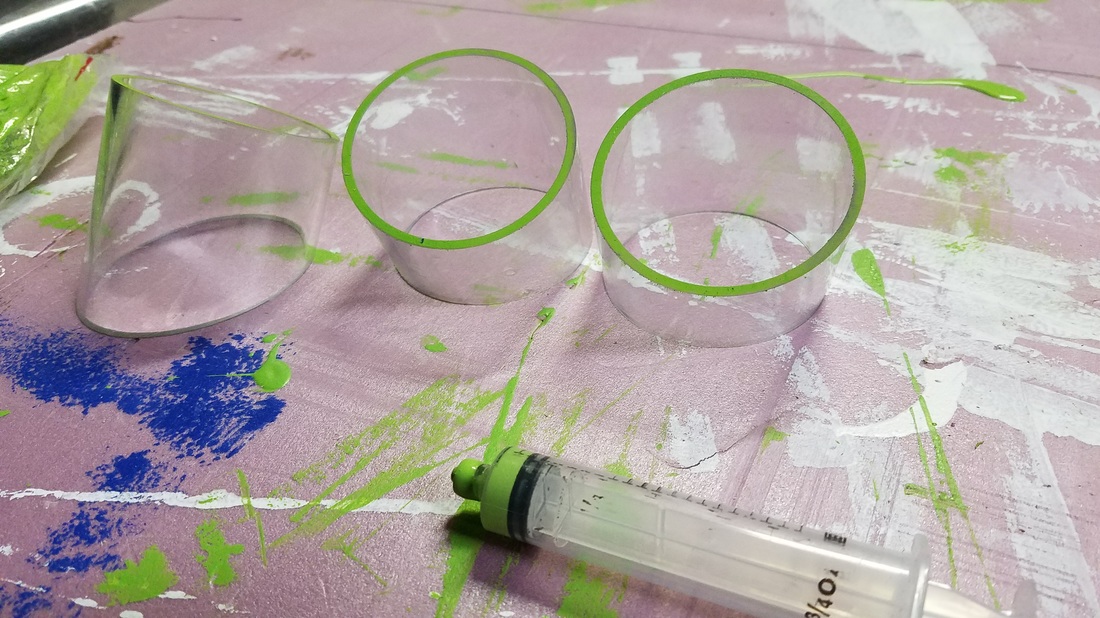
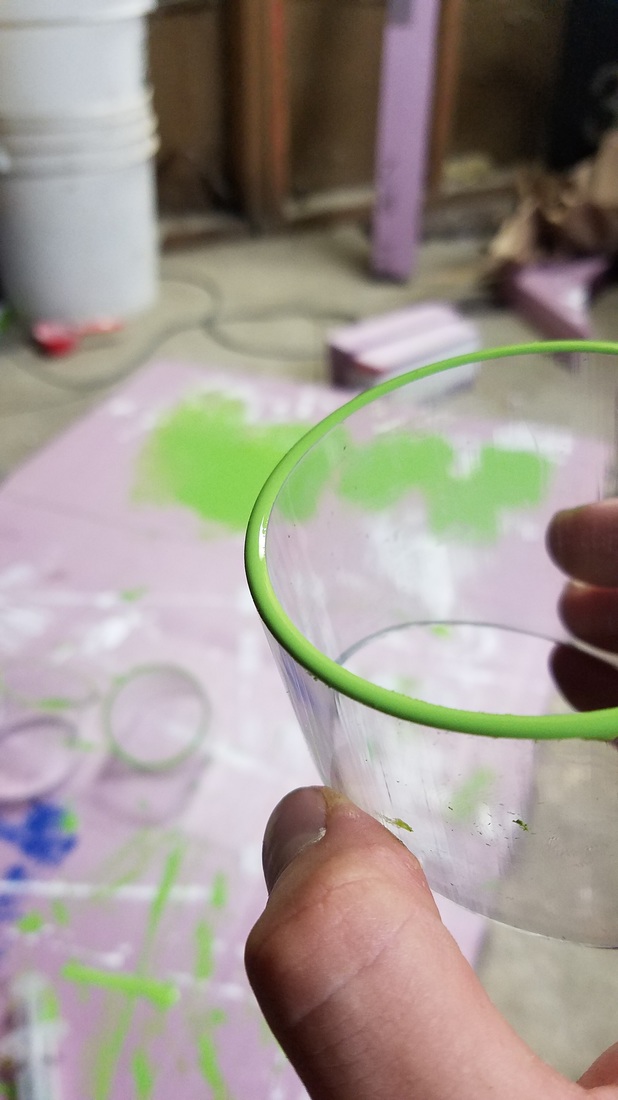
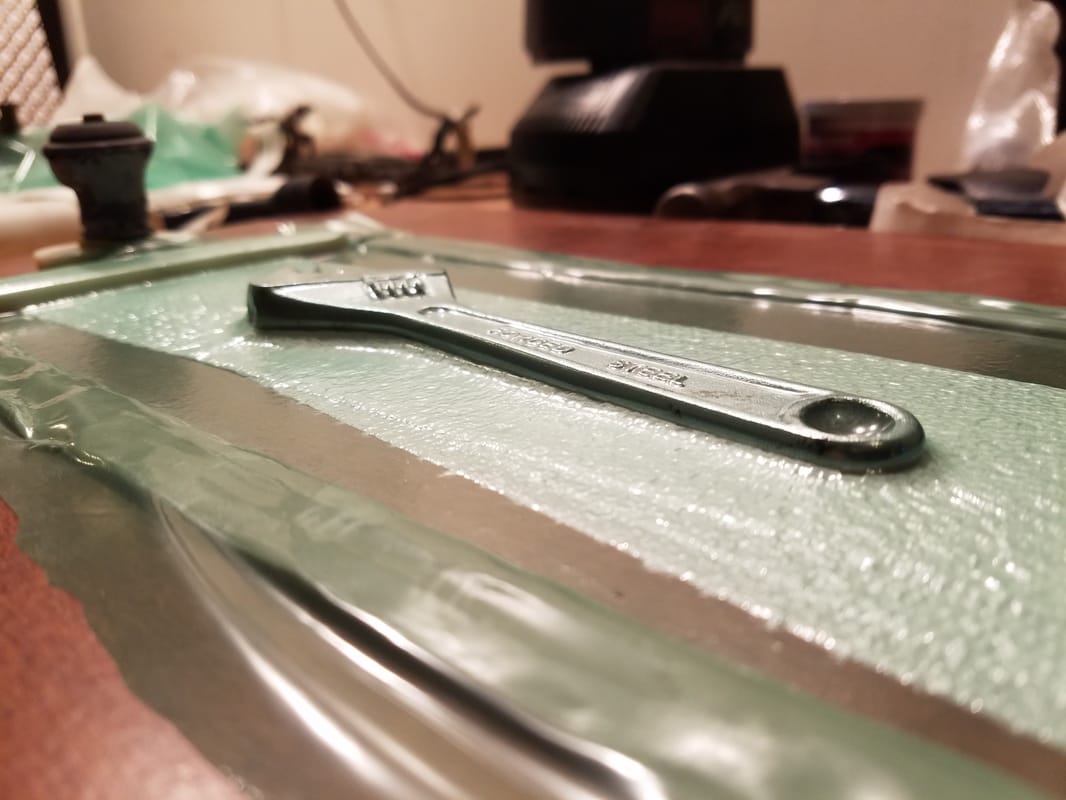
Here's the solution for someone who wants to do things like this themselves: Vacuum! There is a huge column of air extending miles above you, weighting down for miles that only doesn't crush you because it's all around you. Remove it from one side, and the whole column comes crashing into the void with a pressure of about 14 psi. That's about 8 THOUSAND pounds for the area I was describing before. A simple vacuum has the potential to safely and effectively replace a metal frame and massive bottle jack, and I've developed a way to do it for about $20. I designed the part shown below (download here: https://grabcad.com/library/20-vacuum-table-1) to be 3D printed out of...whatever. I use ABS because it's easy to smooth and make airtight. Wipe it down with acetone or clear coat it with some urethane or even just rub Elmer's glue all over it with a brush. Anything you can put on the surface will help keep air in.* The part it difficult to print but once done it is your whole vacuum system. All you need to add is a Vac-U-Vin stopper (get them on amazon for about $8. They're used for sucking the air out of wine bottles) and a zip tie to secure them. To make the table, use anything that isn't porous. Anything. The best option in my opinion is a sheet of melamine that can be found at any hardware store for a few bucks more than a cheap sheet of plywood. In the lpictures below I just used a shelf! You'll also need vacuum tape and vacuum bagging film, but those can also be easily found on amazon for a very low price. 1. Lay the tape out along the perimeter of what you're going to suck down (add about 5x the height of your thing to the size of the perimeter) and the put the thing in the middle under a few pieces of paper towel. The paper towel should go under the front lip of the part and allows it to "breathe" so that it doesn't just seal by the opening. 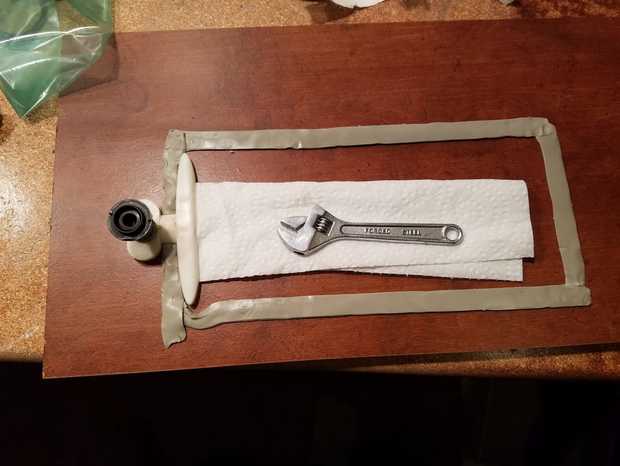
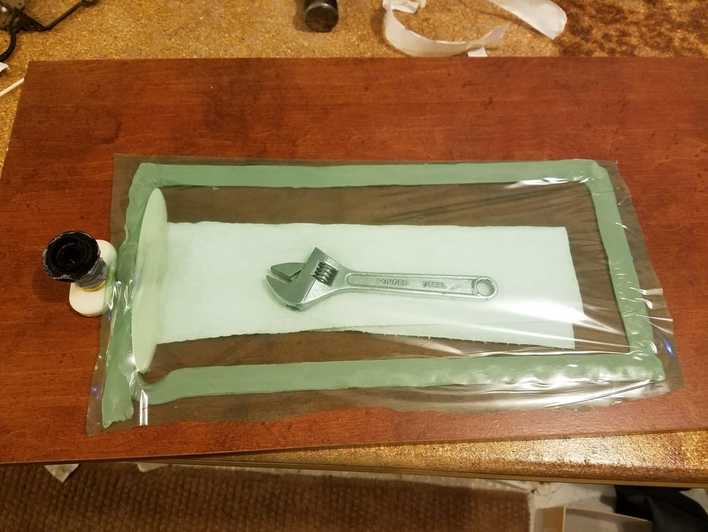
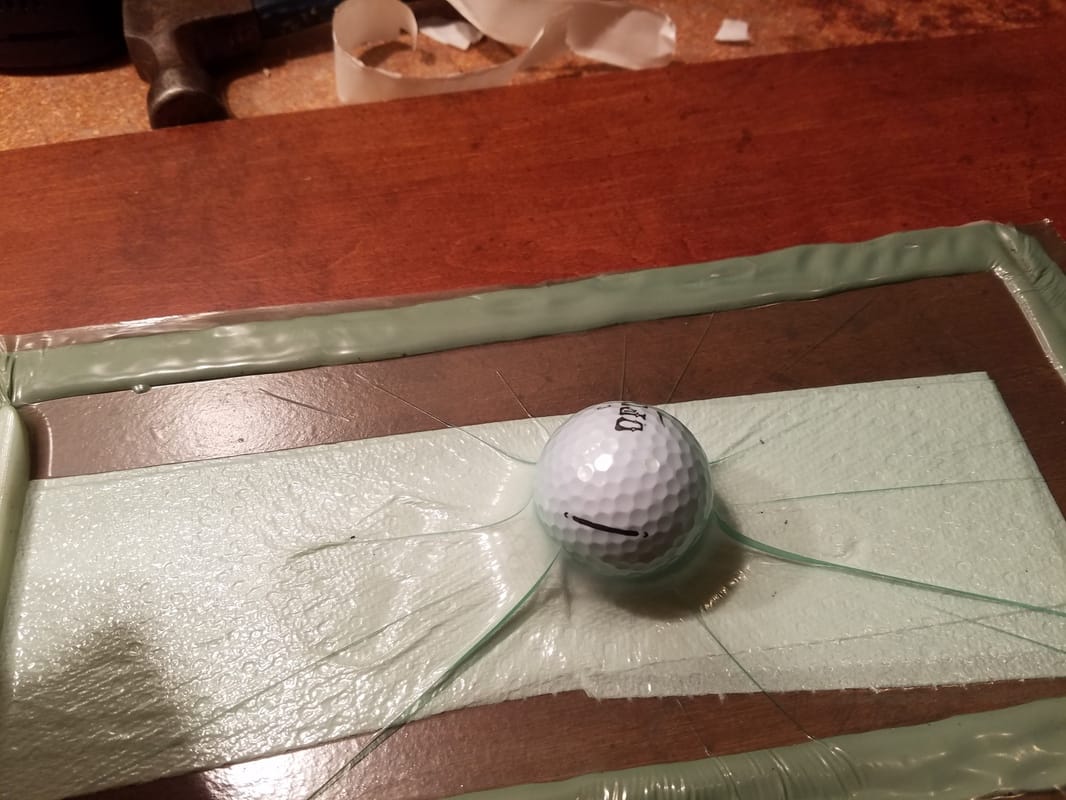
2. Take the "pump" and stick it over the tape and add a little bit of tape across the top. Put some paper towels under the thing and under the little edge of the pump. Then just put down the film and press it into the vacuum tape. That's it! You can suck the air out with the little pump and if you sealed the tape firmly enough, it should hold! I usually come back and suck the extra air out every few minutes or so until the glue or epoxy is set. You can see the results of a few quick tests I did. These all held about this level of vacuum for 10+ minutes! It can be scaled to just about any size, and once you have it together you can slip parts in and out pretty easily. As long as you don't get too much junk on the sealing tape it's possible to use and re-use it dozens if times! It's also possible to make this huge. For larger projects, you can remove the cap of the Vac-u-vin pump and suck most out with a vacuum cleaner or shop vac, and then reattach the top rubber seal and pump the last bit out by hand. *If you do your own 3D printing, print with about 5 perimeters and bump your extrusion modifier up about 10%. This makes the part look a little messier but really smooshes the layers together and makes it airtight! To get rid of support (if you don't use water soluble stuff) bend a paperclip at an angle and just mash it up, getting as much out as possible. Remember that you don't need to remove all the support material from the inside, you just need to break enough to allow a little bit of airflow. 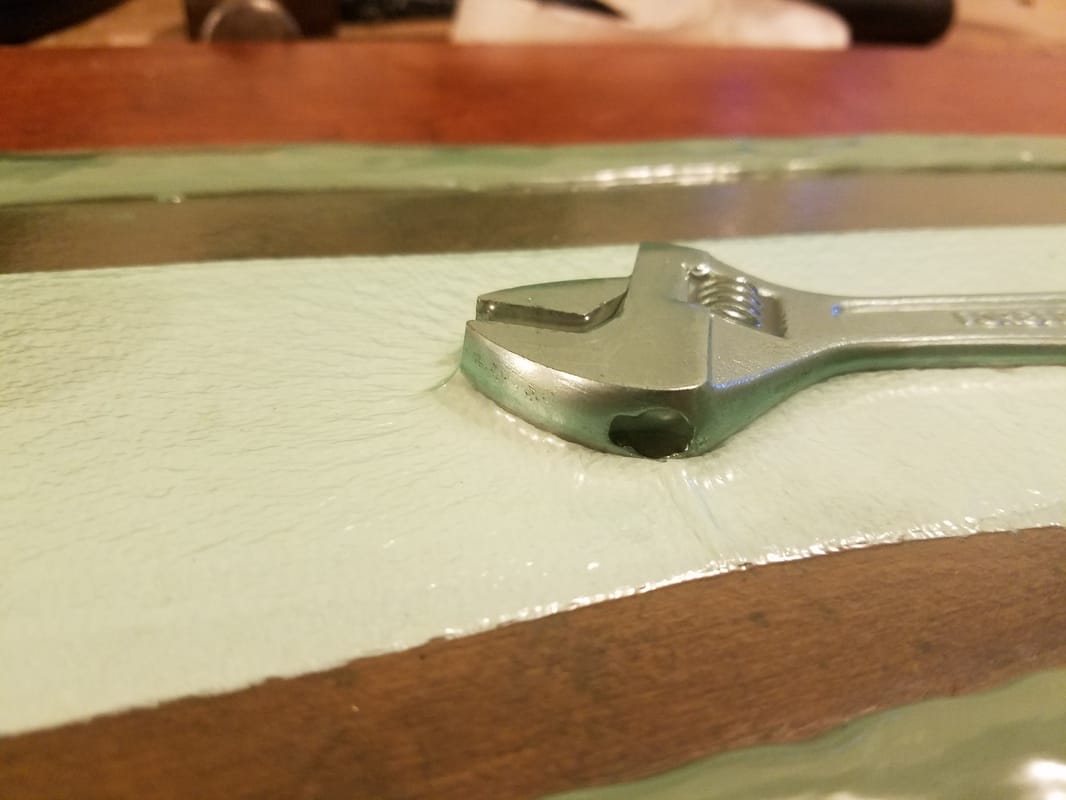
4 Comments
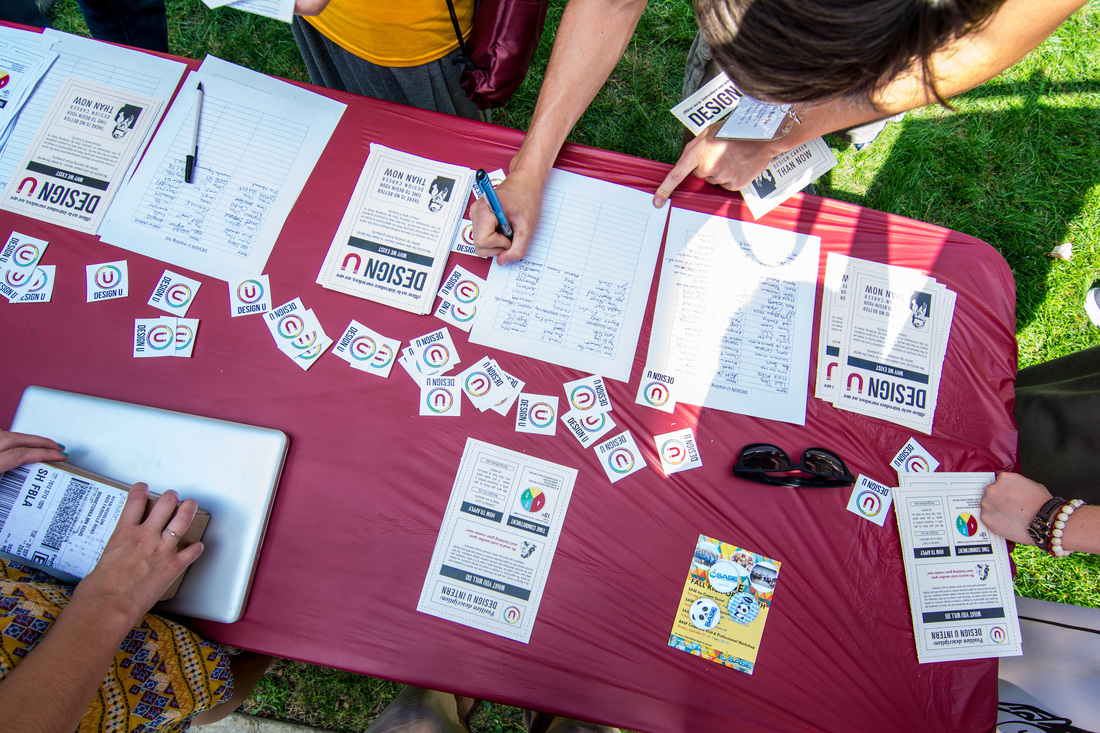
   How we got a student group from 0-60 in just a few months, and where we plan to steer it. | Nov. 2015
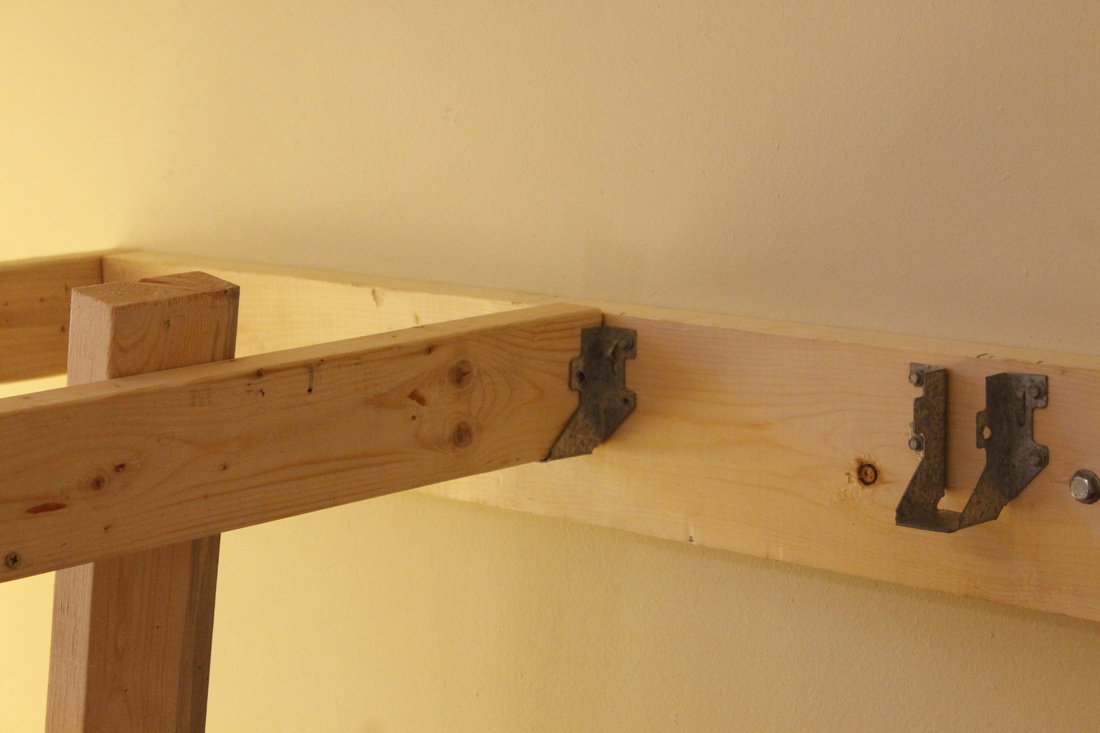
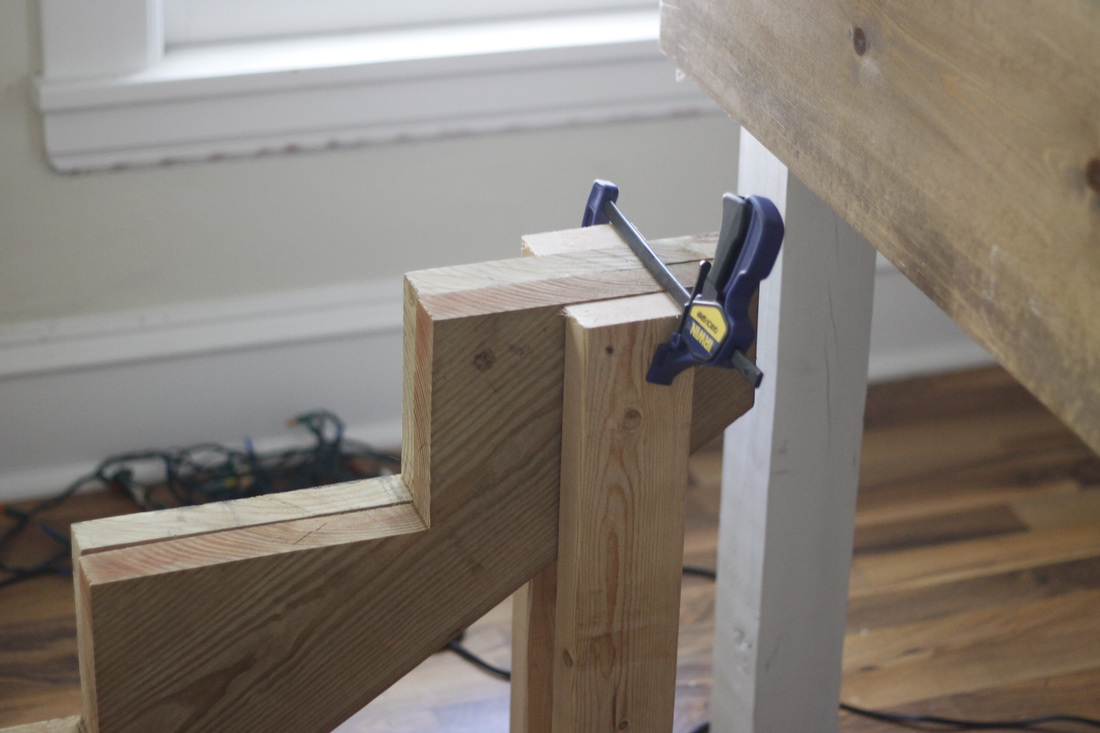
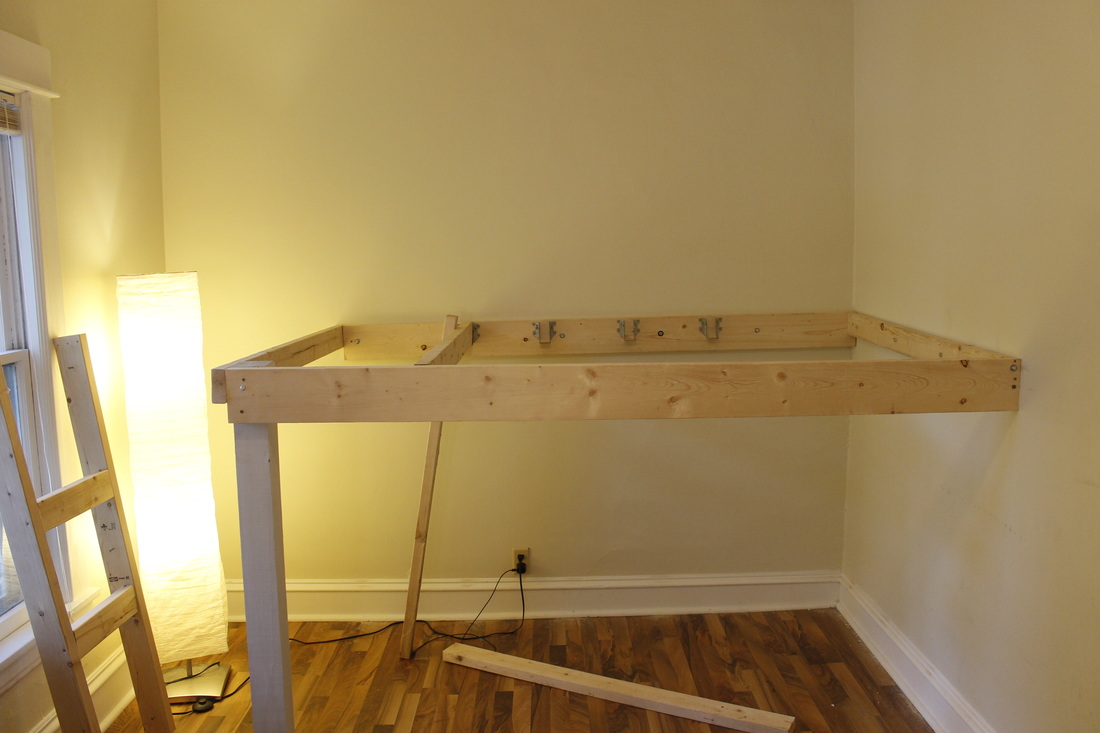
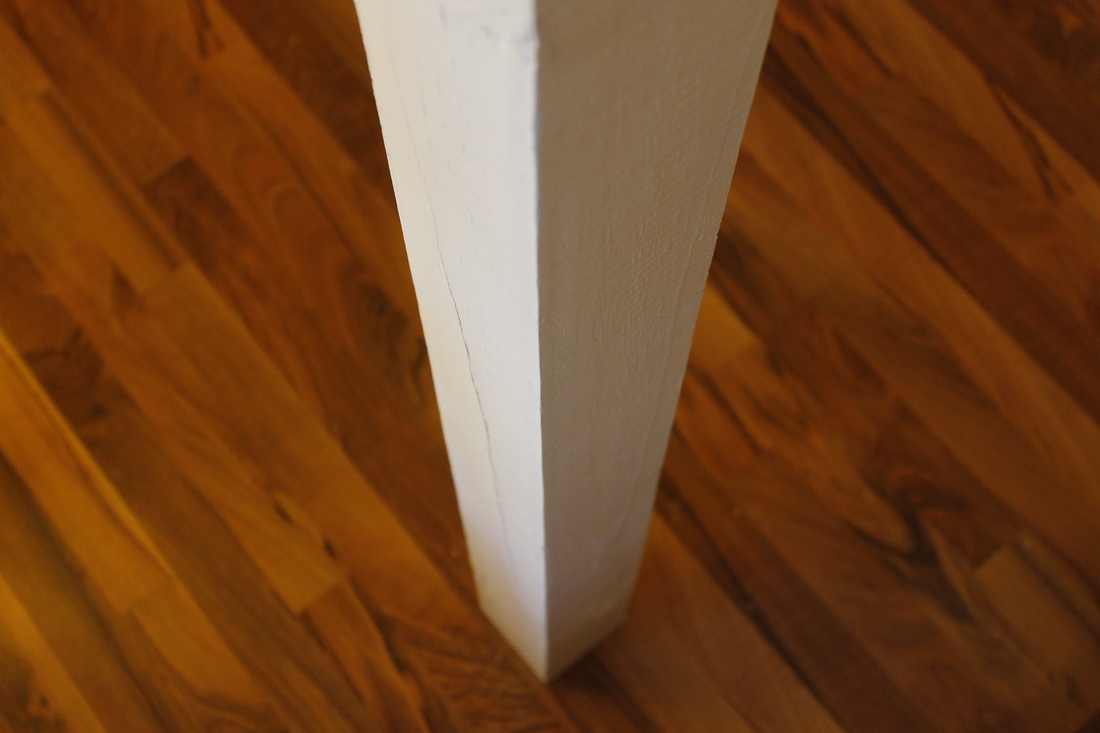
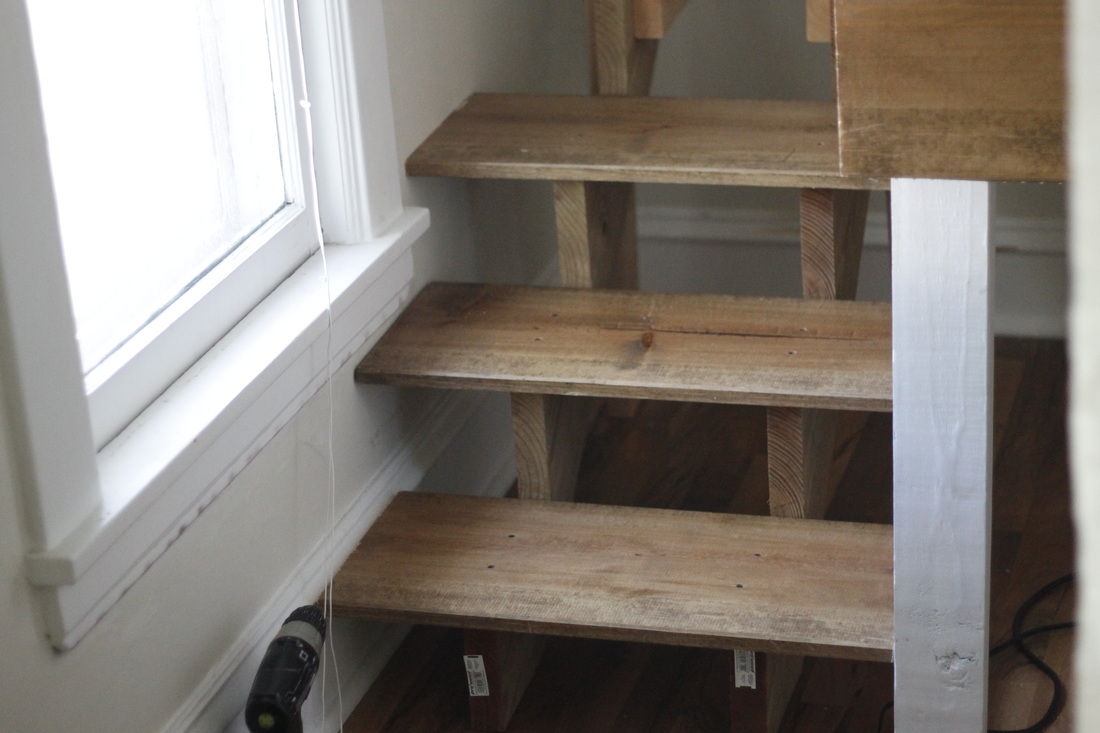
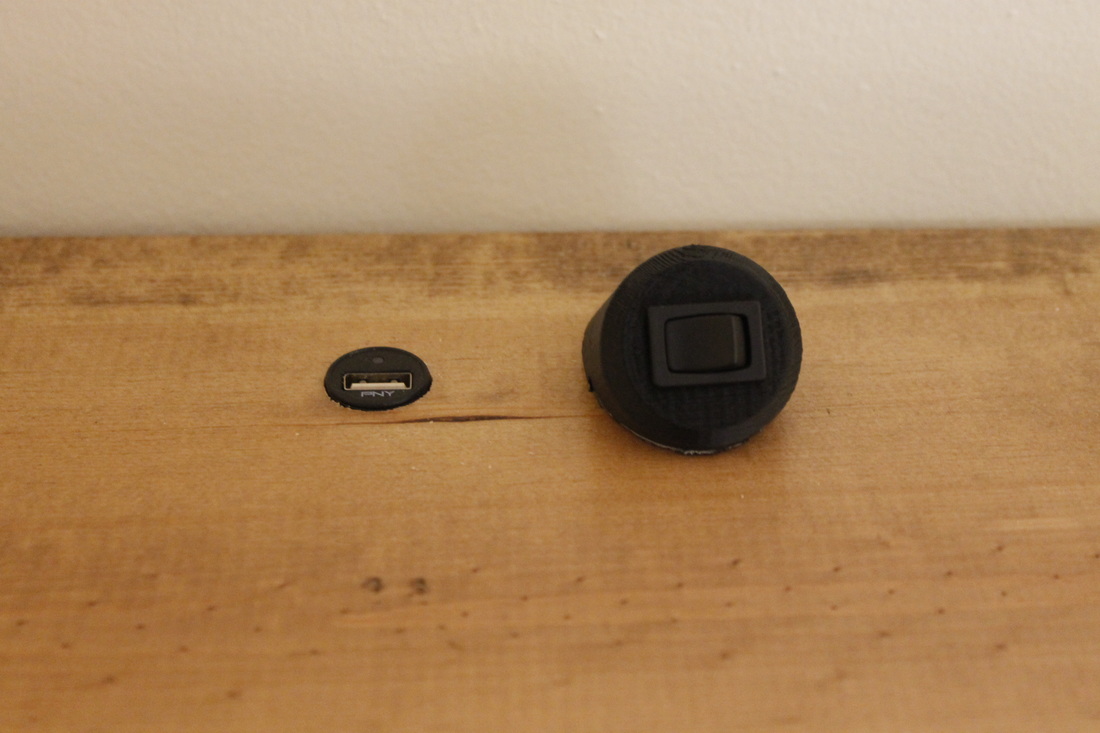
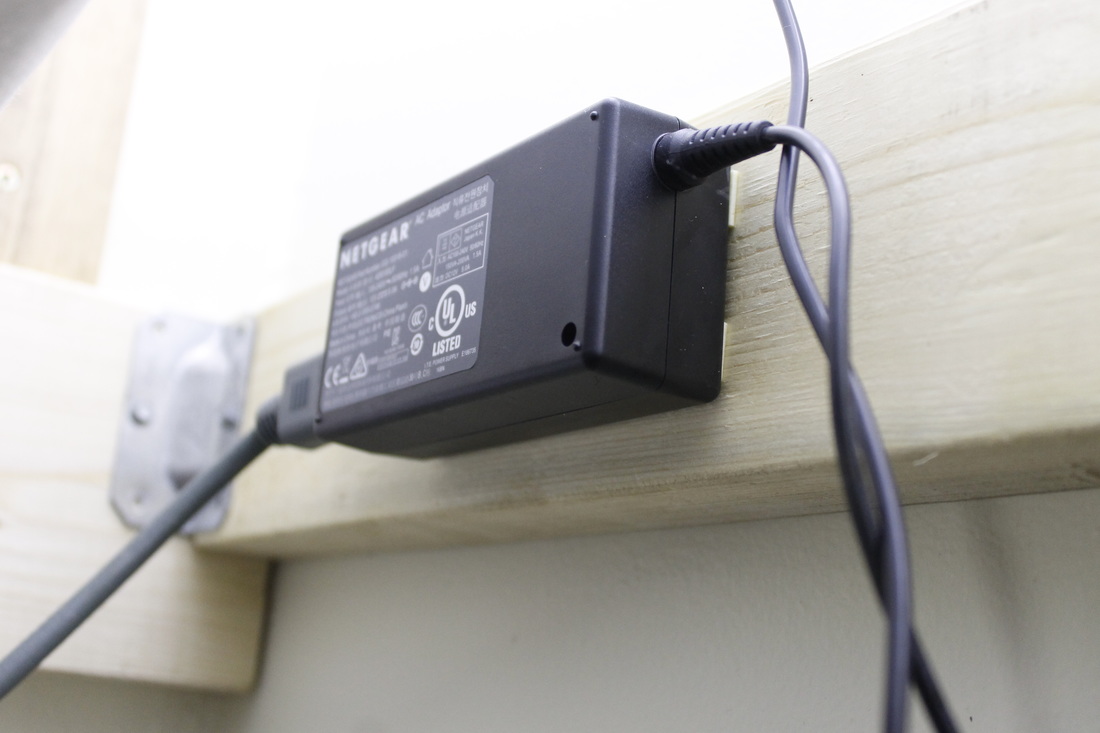
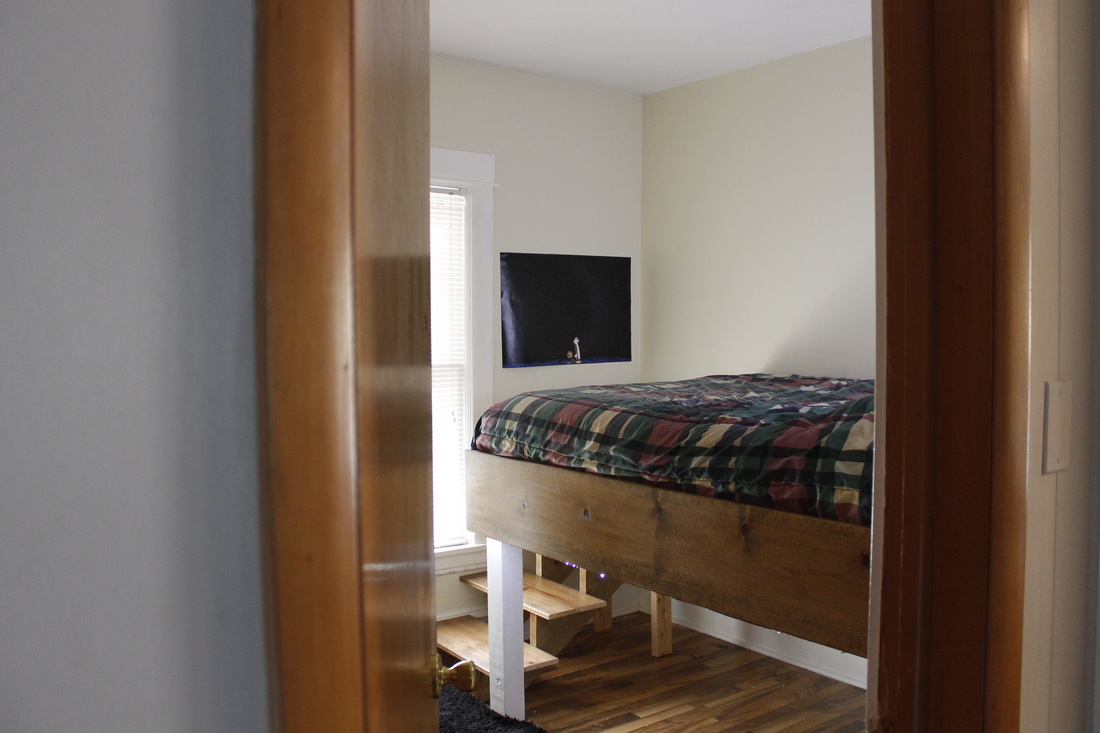
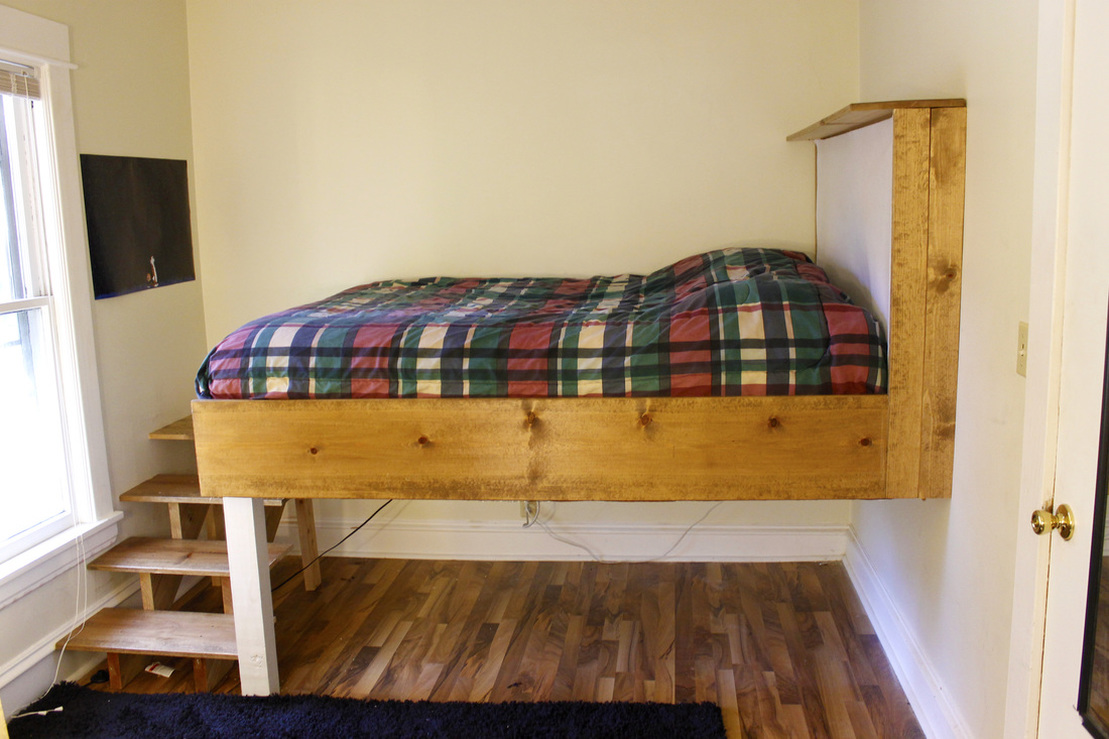
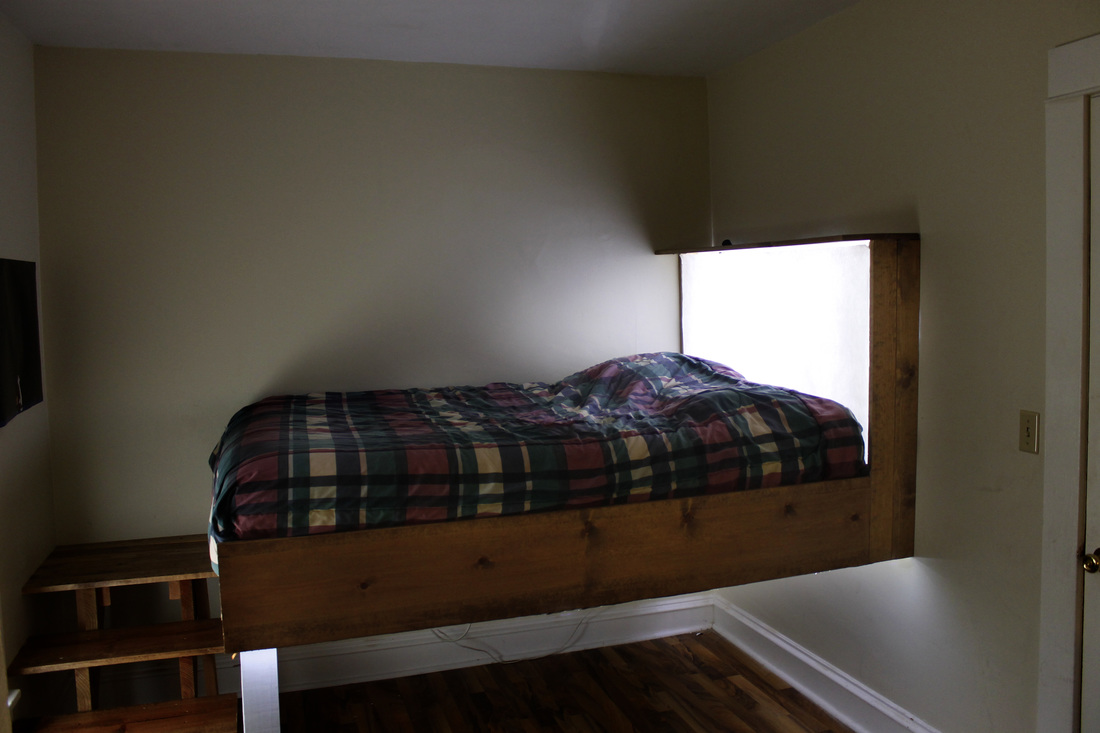
 We are still developing this process and learning more every day about what it takes to run the group. We've got some big plans for next semester so keep checking our website for updates. So what are we working on? Here are some graphics I made for our website that talk about some of the projects we're working on. We've since added two more (LPRD Liquid-Propelled rocket and Backyard Journey, a startup for getting kids outdoors) but these are the main four we started with. Check out the hyperloop site that I made (with the help of the Design U team of course). I was also elected by the Hyperloop team to head down to Texas A&M for the hyperloop Design Weekend in January, where I will be presenting with a team of five and answering questions for judges in order to be considered for the next round. I'll probably add something about that later. Disclaimer: The Hyperloop logo was a collaborative effort by the hyperloop team, and the Mobineo tree was an old iteration from their archives. The Medical logo was also just pulled from google. The rest was done by me. 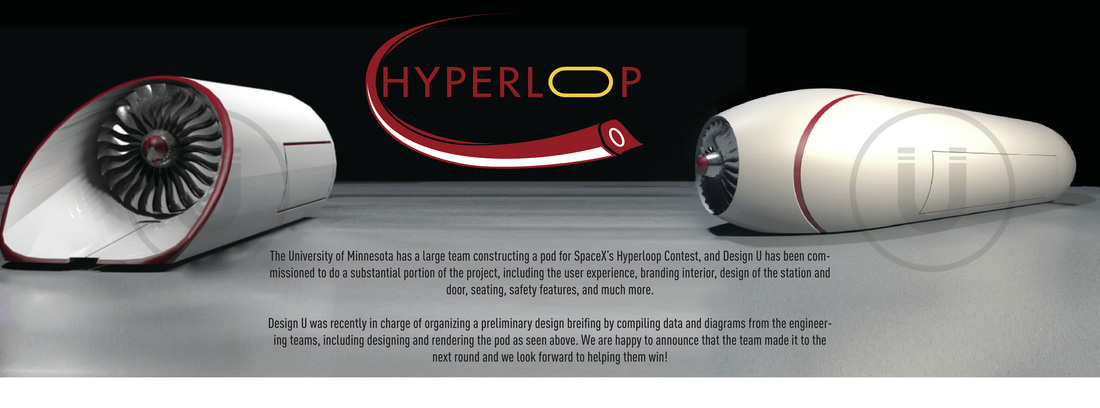  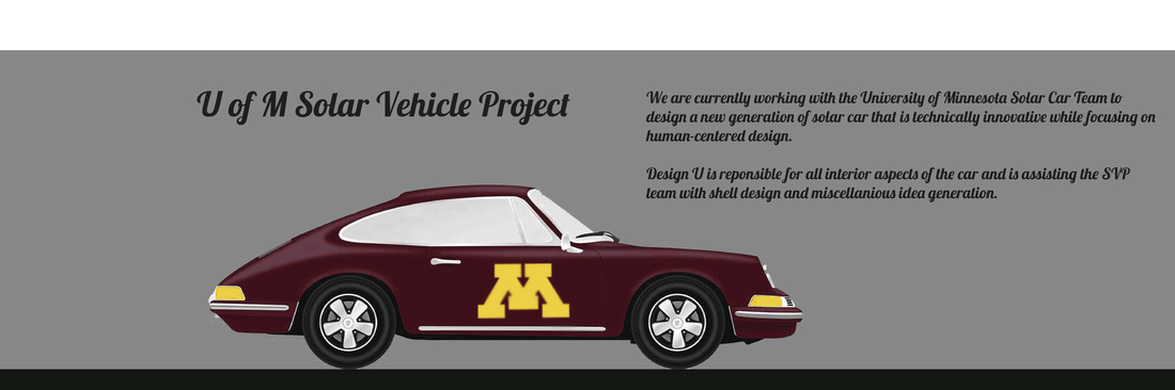  Designing and building a new bed for the new house | Sept. 2015 On September first this year my friends and I moved into a new house. I could've just kept my old bed of course, but every time we move into a new house I develop some idea of what the room needs to look like, and I never feel comfortable until my space has some semblance of my grand vision. This particular glimpse into what I felt it needed to look like had lights, a USB charger, stairs, and of course a height that sacrificed just about all function for form. The difficult parts here were my money and time budgets: a total of $0.00 and about 3 days. Inspired My sister Sophie has two mattresses and a box spring on her bed, and when I got to use her room on a visit back home I loved the height. There was something about the isolation of being up high that felt very appealing. When the floor is a little further away and getting out of bed takes a little more effort, I felt a strange and relaxing disconnection from the rest of the room. Beyond that it's difficult to explain even to myself, but all I knew is I needed a really tall bed. Uninspired Anyone over six feet tall who has lived in a college dorm can attest to the fact that being two feet away from the ceiling is miserable. Though a loft sounds like it would fit the height criteria described earlier, there was something awful about having to climb up into a bed. I wanted to be able to jump in to it, or at least walk via a staircase. I decided on a final height of about four feet which is awful for just about every reason except that it felt right. The engineer in me eventually acquiesced to the inefficiency of 'too tall to climb into, too short to be under,' and I decided to just go for it. The Three Rs For the frame I reused the base of my old bed frame, bolting two sides into the wall with 5/6" lag bolts. I recycled a 4x4" old fence post found in a dumpster covered in mud and stains (top right picture) but after sanding and painting it turned out pretty nice. The other top pictures show the slats secured with joists about a foot apart, with an extra 8" left for the headboard. It was rock solid, and i̶t̶ ̶f̶e̶l̶t̶ ̶l̶i̶k̶e̶ it was part of the frame of the house. The Four Stairs I used pre-made stringers from Home Depot for the stairs, secured to the wall with a single lag bolt and supported additionally by two legs made from scrap wood. By lining them up and making both sides at the same time, (middle-left) I didn't have to be too precise to get them level and identical. The actual steps were repurposed from the sides of the old bed. In the end they took me about a half hour to make and around $18. Big Screen I built a headboard using the remaining scraps of my old bed and put the LED strips from it behind a piece of white fabric. The fabric diffused the lights well enough to create an ambient glow that resembled a giant TV screen. I used a 12v power supply from an old router to power the LEDs and an old car charger to use as a phone charger at night. To turn it on and off I 3D printed a little switch holder that you can see in the bottom left picture. Winter Sucks The lights aren't the kind of soft white lights you'd like to have on before going to bed, but I eventually plan on using them for the mornings. As soon as one of my arduinos isn't being used I'm going to hook them up so that they turn on with my alarm. Here in Minnesota it's dark on winter mornings until well after I need to be up, so hopefully this will mimic natural light well enough to help me get out of bed. About $30 | 7-8 hours over 4 days | "full" sized mattress | 48" Tall
  |